
After making smoothies, the quickest way to clean your blender is to fill it halfway with warm water and a few drops of dish soap. Secure the lid and blend on high for 30-60 seconds to rinse out residue and eliminate odors. For hard-to-reach spots, use small brushes or pipe cleaners. Regular quick cleans like this keep your blender spotless and performing well—keep going to discover more tips for fast, effective cleaning.
Key Takeaways
- Use the self-cleaning cycle with water and dish soap for quick, hands-free cleaning.
- Blend warm water and a small amount of dish soap for 30-60 seconds to loosen residue rapidly.
- Disassemble blades and seals regularly, then scrub with a small brush or sponge for thorough cleaning.
- Rinse all parts thoroughly after blending to eliminate soap residue and prevent odors.
- Dry components completely and inspect for buildup or damage to maintain optimal performance.

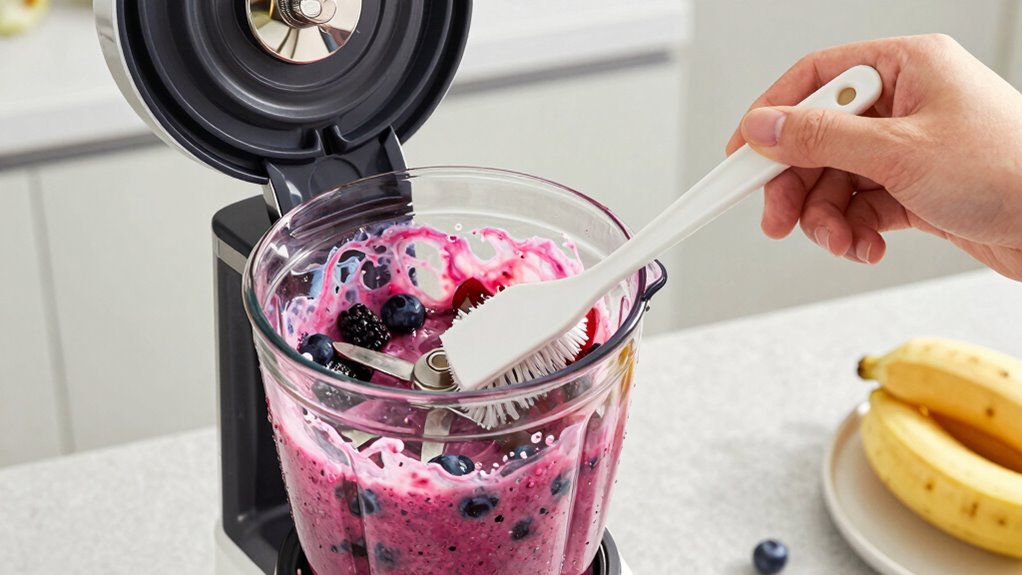
2-in-1 Detachable Blender Cleaning Brush for Vitamix & Ninja, Dual-Head Bottle Brush for Juicer, Cup Lid, Meat Grinder & Kitchen Appliances, Long-Handled Food-Grade Bristles for Deep Crevice Clean
- 2-in-1 Design: Combines regular and gap cleaning brushes
- Heavy-Duty & Flexible: Handles large appliances and reaches deep crevices
- Safe for Blades: Flexible head cleans blades and tight spots
As an affiliate, we earn on qualifying purchases.
As an affiliate, we earn on qualifying purchases.
Why Quick and Easy Blender Cleaning Matters
Cleaning your blender quickly and easily is important because it prevents buildup and odors that can affect the taste of your future smoothies. When you clean promptly, you avoid bacteria and mold growth, ensuring your blender stays safe to use. Prioritizing cleaning safety means using non-toxic, eco-friendly products that won’t harm the environment or your health. These products are often biodegradable and free from harsh chemicals, making them perfect for daily use. Quick cleaning also saves you time and effort, so you’re more likely to maintain a regular routine. By choosing eco-friendly cleaning methods, you contribute to a healthier planet while keeping your blender fresh and ready for your next smoothie. Regularly maintaining your appliances can extend their lifespan and ensure optimal performance. Incorporating modern cleaning techniques, such as ultrasonic or steam cleaning, can further enhance efficiency and safety. Additionally, using appropriate cleaning tools can make the process even more effective and hassle-free. Utilizing proper cleaning techniques can help you reach difficult spots and make your cleaning more thorough with less effort. It’s a simple step that brings big benefits to your kitchen and well-being.
How to Prepare Your Blender for a Fast Cleanup

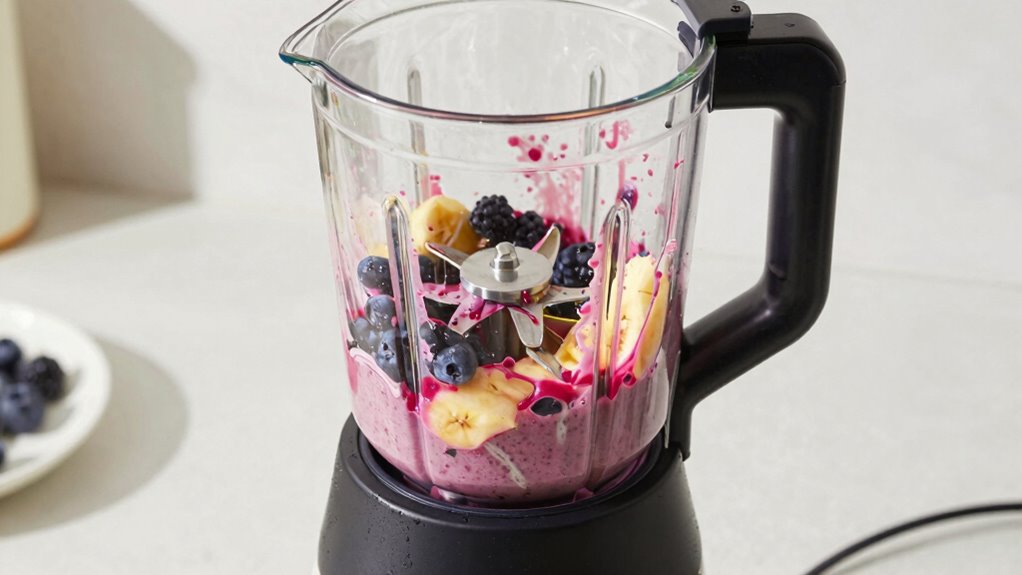
Before you start cleaning your blender, it’s important to prepare it properly to make certain a quick and effective cleanup. First, rinse out the blender immediately after use to prevent food from drying on. Next, check the blender material—glass, plastic, or stainless steel—as each requires different cleaning methods. For instance, material-specific cleaning can help prevent damage and maintain your blender’s appearance. For example, glass handles stains better, while plastic may stain more easily. Additionally, consider the cleaning schedule you follow to ensure regular maintenance and prevent buildup. Establishing a consistent cleaning routine can significantly reduce the time spent on cleanup sessions. Incorporating regular maintenance practices also helps keep the blades and seals in good condition, facilitating easier cleaning. Finally, review your cleaning schedule and make a mental note to clean the blades and jar thoroughly later. By rinsing promptly and understanding your blender’s material, you reduce buildup and make cleanup faster. Preparing your blender this way ensures less scrubbing later and keeps your device in top shape for quick cleanups every time.
How to Use Your Blender’s Self-Cleaning Function (or, Manual Cleaning if No Self-Cleaning)
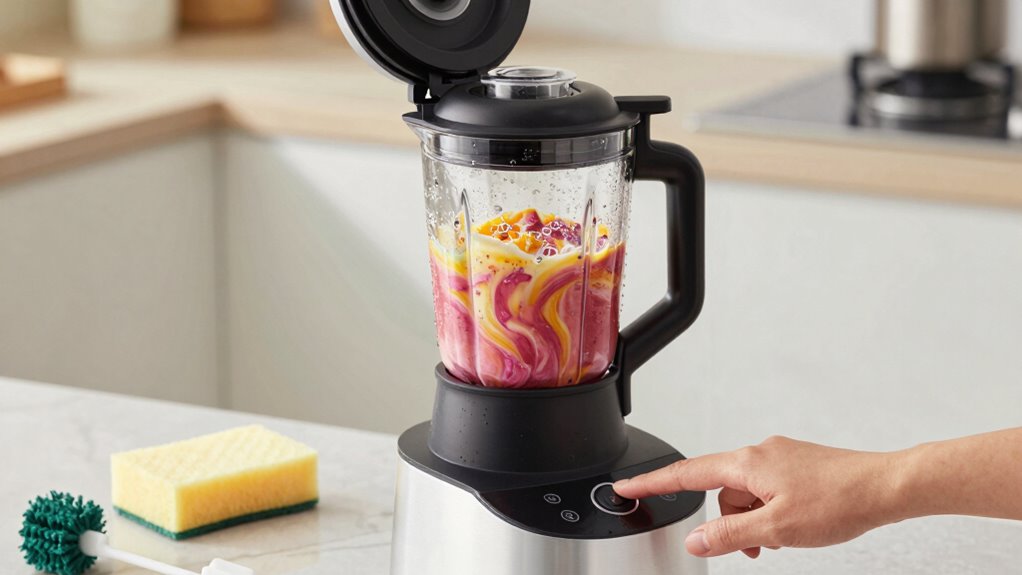
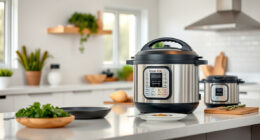
If your blender has a self-cleaning feature, it offers a quick and effortless way to tidy up after use—simply add water and a drop of dish soap, then activate the cycle. This process effectively loosens and washes away residue without manual scrubbing. Smart home technology can also be integrated to monitor appliance maintenance and schedule cleaning routines automatically. Additionally, regular maintenance routines can help prevent buildup and ensure your blender functions efficiently over time. If your blender lacks a self-cleaning function, you’ll need to do manual cleaning instead. Fill the jar halfway with warm water, add a few drops of dish soap, and blend for 30-60 seconds. Then, rinse thoroughly to remove soap and debris. Regularly cleaning routines help prolong your appliance’s lifespan and maintain optimal performance. Both methods help keep your blender spotless and ready for the next use. Using the self-cleaning feature saves time, while manual cleaning ensures your blender stays in top condition when that feature isn’t available. Incorporating proper cleaning techniques can further improve the longevity of your appliance.
The Fastest Way to Clean Your Blender: Blending Soap and Water
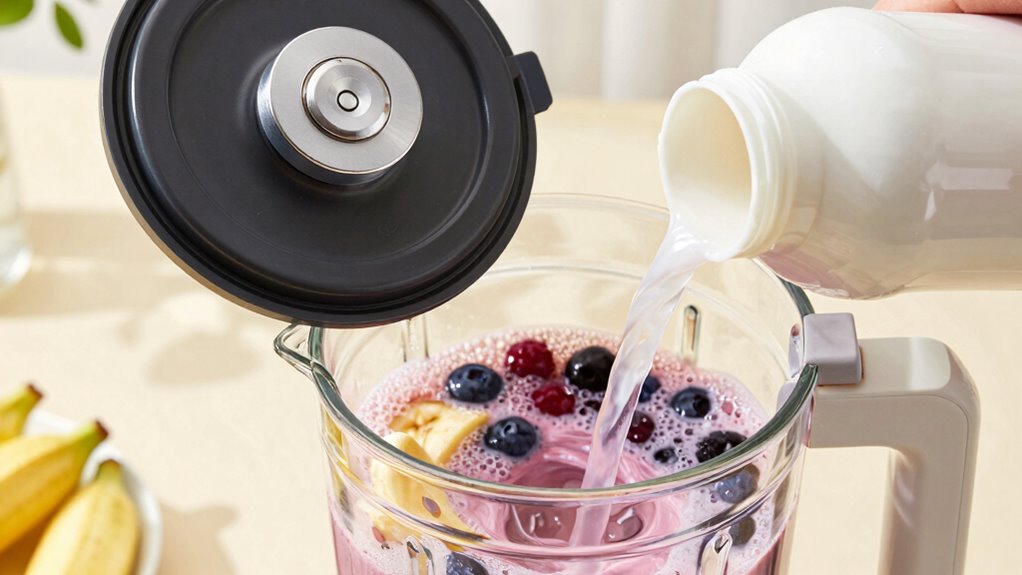
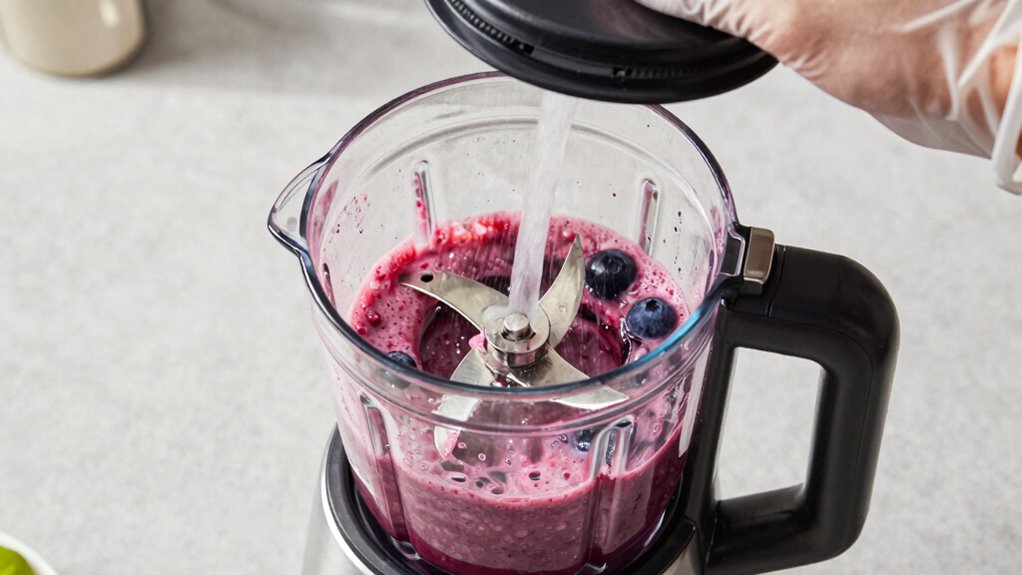
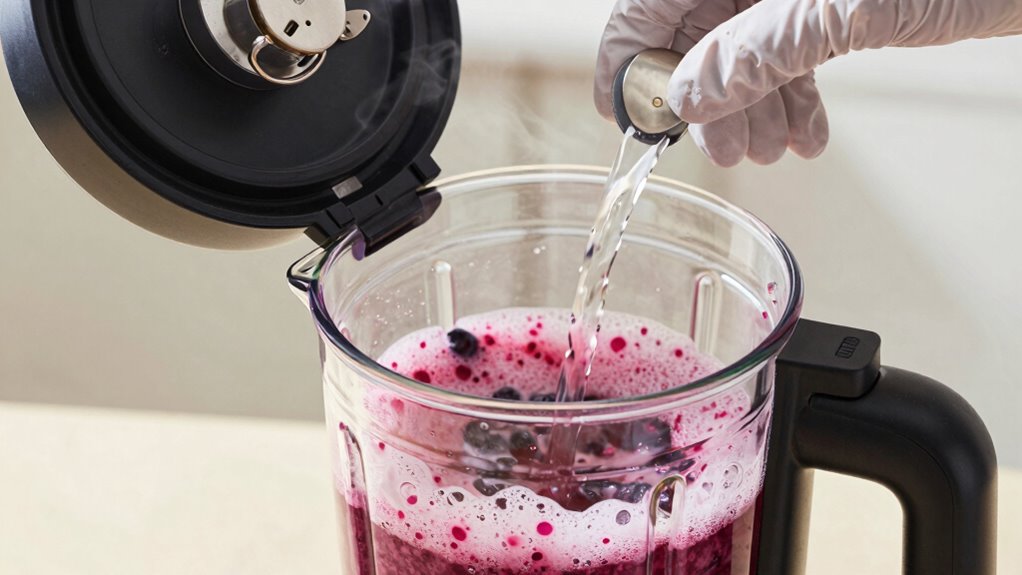
The quickest way to clean your blender is by blending soap and water together. Fill the jar halfway with warm water, then add a few drops of your favorite cleaning solution or dish soap. Next, follow these steps:
Blend soap and warm water for a quick, thorough blender cleanup.
- Secure the lid tightly to prevent spills.
- Turn on the blender and run it on high for 30-60 seconds.
- Stop, then carefully remove the lid and pour out the soapy water.
This method effectively cleans blender accessories and the jar, removing residue and odors. The agitation helps reach all nooks and crannies, making it a fast and efficient solution. Using the right cleaning solutions guarantees a spotless, fresh blender every time.
Quick Tips for Cleaning Hard-to-Reach Blender Parts
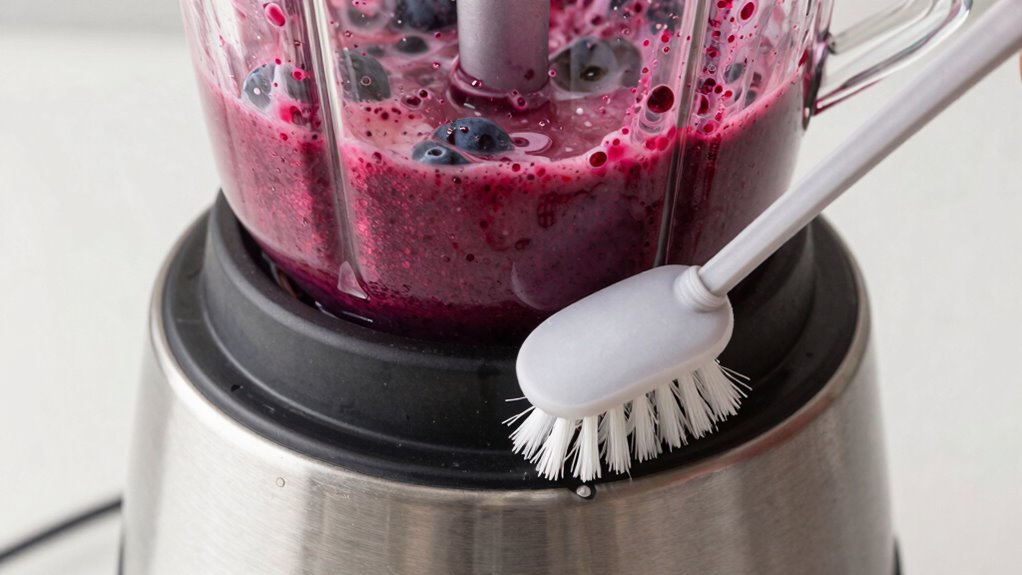
Hard-to-reach blender parts, like the blade assembly and gasket, often trap residue and odors that regular cleaning can miss. To tackle these spots, use specialized cleaning tools like small brushes or toothbrushes designed for blender accessories. These tools help loosen stubborn bits in tight crevices. Here’s a quick guide:
| Part | Recommended Cleaning Tool | Tips |
|---|---|---|
| Blade assembly | Small brush or old toothbrush | Scrub gently to avoid damage |
| Gasket | Toothpick or soft cloth | Remove debris from edges |
| Inside the jar | Bottle brush or sponge | Reach the bottom thoroughly |
| Lid and vents | Pipe cleaners or small brushes | Clear out trapped residue |
| Seals and rings | Cotton swabs | Clean around tight seams |
Using the right cleaning tools makes your maintenance faster and more effective. Additionally, regularly inspecting blender components can help prevent buildup and keep your appliance running smoothly. It’s also helpful to be aware that odor buildup can occur in hard-to-reach areas if not cleaned regularly, leading to lingering smells. To further maintain cleanliness, ensure that proper disassembly is performed to access all parts easily. Regular disassembly and thorough cleaning of hard-to-reach parts can prevent mold and bacteria growth. Being mindful of cleaning frequency can significantly extend the lifespan of your blender and maintain optimal performance.
Easy Maintenance Tips to Keep Your Blender Spotless
Maintaining your blender regularly is the best way to keep it spotless and functioning smoothly. To do this effectively, establish simple cleaning schedules—daily or after each use. Focus on understanding your blender materials; glass, plastic, or metal parts may require different care. Here are easy tips:
- Rinse immediately after blending to prevent residue buildup.
- Perform a quick clean with warm water and dish soap once a day.
- Deep clean the blades and jar weekly using vinegar or baking soda for stubborn stains.
- Always check your blender’s material compatibility to choose the safest cleaning method and avoid damage.
Common Mistakes to Avoid When Cleaning Your Blender Quickly
While quick cleaning methods are convenient, many people make common mistakes that can hinder their blender’s performance. Rushing through DIY cleaning or relying solely on cleaning shortcuts might leave residue or odors behind. Avoid using harsh abrasives or skipping the step of rinsing thoroughly, as this can damage the blades and seals over time. Additionally, neglecting to clean the base can lead to mold buildup. Being mindful of these pitfalls ensures your blender stays in top shape after every quick clean. Regularly inspecting and maintaining your blender’s filtration system can further prolong its lifespan and ensure optimal operation. Proper maintenance routines are essential to prevent bacterial growth and keep your appliance hygienic. Incorporating cleaning frequency into your routine helps prevent buildup and maintains the quality of your smoothies. Also, paying attention to airflow around the unit can improve its overall efficiency and longevity. To optimize your cleaning process, consider ensuring proper ventilation around the blender to allow any residual moisture to evaporate effectively.
Frequently Asked Questions
Can I Clean My Blender With Dishwasher Detergent?
Yes, you can clean your blender with dishwasher detergent. Simply add a few drops of dishwasher detergent and warm water, then run the blender on a quick cycle. For extra cleaning hacks, you can also add a splash of vinegar or baking soda. This method effectively removes smoothie residue and keeps your blender fresh, making it ready for your next use. Just remember to rinse thoroughly afterward.
How Often Should I Deep Clean My Blender?
Like a well-tuned engine, your blender needs regular attention. You should deep clean it once a week to maintain peak performance and hygiene. Incorporate this into your cleaning schedule to prevent buildup and odors. Proper blender maintenance involves thorough cleaning, especially after heavy use like smoothies. By sticking to this routine, you ensure your appliance stays fresh, efficient, and ready for your next culinary adventure.
What Natural Cleaning Agents Are Safe for Blenders?
You can use natural disinfectants like white vinegar or lemon juice to clean your blender safely. Eco-friendly cleaners such as baking soda and vinegar work well for removing residues and odors without harsh chemicals. Simply blend a mixture of water, vinegar, and a splash of lemon, then rinse thoroughly. These natural agents are safe for your blender and eco-conscious, ensuring a clean, fresh appliance after each use.
Is It Necessary to Disassemble My Blender for Cleaning?
Did you know that 80% of blender users skip disassembly, risking bacteria buildup? You don’t always need to disassemble your blender for cleaning. Simply filling it with warm water and a drop of soap, then blending for a few seconds, can be effective. However, disassembly offers thorough cleaning benefits, especially for stubborn residue. Decide based on how dirty your blender is, but regular cleaning keeps it safe and functioning well.
How Do I Prevent Odors After Cleaning My Blender?
To prevent odors after cleaning your blender, make sure to regularly clean it after each use and maintain proper cleaning frequency. You can also leave the blender lid off for a few minutes to allow moisture to evaporate, reducing mold and bacteria growth. To further combat odors, blend a mixture of baking soda and water or lemon juice and water weekly. Proper cleaning and consistent odor prevention help keep your blender fresh and odor-free.
Conclusion
Cleaning your blender quickly keeps it running smoothly, looks great, and lasts longer. By preparing it properly, using the right methods, and avoiding common mistakes, you guarantee a spotless, hassle-free cleanup every time. Keep it simple, stay consistent, and embrace these quick tips. When you prioritize fast, effective cleaning, you save time, prevent odors, and enjoy your smoothies without worry. Clean smart, blend fast, and keep your blender in top shape with ease.