To master poached eggs, start with fresh eggs that sink and stay flat in water. Use cold water with a splash of vinegar and keep it at a gentle simmer (around 180°F to 190°F). Create a whirlpool by whisking, then slide eggs in carefully to form neat shapes. Timing is key—about 3-4 minutes—then gently lift with a slotted spoon. Proper handling, garnishing, and extra tips will help you perfect this delicate technique. Keep going to learn more tricks!
Key Takeaways
- Use fresh eggs with firm whites and centered yolks for better shape and cleaner poaching results.
- Maintain water temperature between 180°F and 190°F and create a gentle simmer to prevent eggs from breaking.
- Add a teaspoon of vinegar per liter of water to help whites coagulate quickly and hold their shape.
- Create a vortex by swirling water with a whisk before gently sliding in the egg for a neat, professional shape.
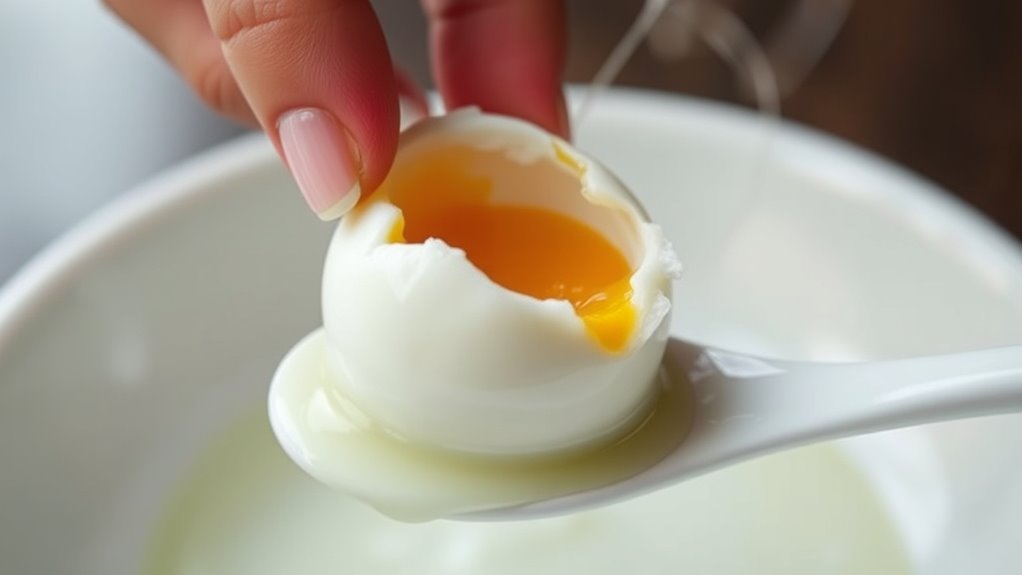
- Handle eggs carefully with a slotted spoon during removal, supporting whites to avoid breakage and ensure presentation.
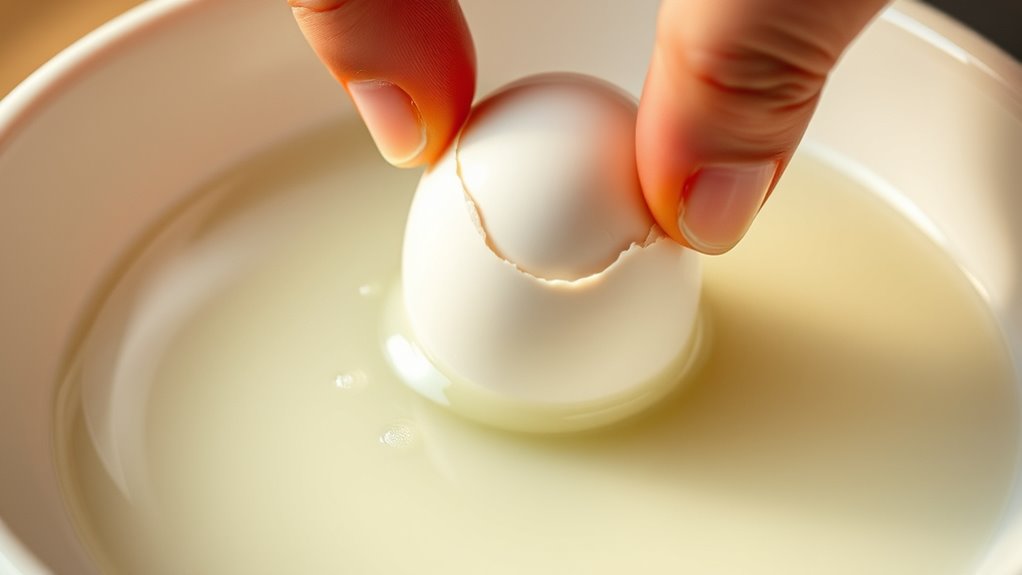
Choosing the Right Fresh Eggs

Choosing the right fresh eggs is vital for perfectly poached eggs because freshness directly affects how well the egg holds its shape during cooking. When selecting eggs, check for high egg freshness; fresher eggs have firmer whites and more centered yolks. You can perform a simple freshness test by gently placing the egg in a bowl of water—if it sinks and lies flat, it’s fresh. Shell integrity is also essential; cracked or damaged shells increase the risk of leaks and uneven poaching. Avoid eggs with cracks or powdery shells, which indicate age or poor quality. Fresh eggs with intact shells ensure minimal leakage and a cleaner poach. Additionally, color accuracy in egg quality can influence visual cues like yolk color, helping you select the best eggs. By choosing eggs with good shell integrity and high freshness, you set yourself up for perfectly shaped, delicious poached eggs.
Preparing Your Water for Poaching
Start by filling your pan with fresh, cold water to guarantee the eggs cook evenly. Adding a splash of vinegar or a pinch of salt helps the eggs hold their shape and prevents them from dispersing. With the right water preparation, you’ll set a strong foundation for perfect poached eggs. Incorporating natural language processing techniques can also help in timing your eggs precisely for ideal doneness.
Use Fresh Water
Using fresh water is essential for achieving perfectly poached eggs because it helps the eggs cook evenly and stay tender. The quality of water directly impacts the outcome, as stale or impure water can cause off-flavors or uneven cooking. Always start with clean, fresh water straight from the tap, avoiding water that has been sitting for too long. To visualize the difference:
| Clear, fresh water | Murky, stale water |
|---|---|
| Bright, clean | Cloudy, with particles |
| Pure taste | Off-putting flavor |
| Even heat transfer | Uneven cooking |
Focusing on water quality ensures your eggs will poach beautifully, with silky whites and a perfectly runny yolk. Fresh water is your foundation for consistent, professional results. Additionally, understanding the mechanisms of angel numbers can help you recognize meaningful patterns that influence your personal growth.
Add Vinegar or Salt
Adding a small amount of vinegar or salt to your simmering water can make a noticeable difference in how your eggs hold together during poaching. Vinegar benefits include helping the egg whites coagulate more quickly, resulting in neater, more compact shapes. If you prefer to avoid vinegar, salt alternatives like lemon juice or baking soda can also promote better protein bonding. Salt, in particular, enhances the water’s ability to slightly denature proteins, making whites less likely to disperse. Just a teaspoon of vinegar or salt per quart of water is enough; too much can affect the flavor or texture. Experiment to find what works best for you, but don’t skip this step—your poached eggs will turn out cleaner and more professional-looking. Proper water temperature is also crucial for achieving perfect poached eggs.
Using Vinegar to Help Eggs Hold Shape
Vinegar acts as a helpful coagulant in the poaching process, making it easier for eggs to hold their shape. The vinegar benefits include encouraging the egg whites to firm up quickly, preventing them from dispersing in the water. This helps create a neater, more compact egg with a well-defined egg shape. When you add a splash of vinegar to simmering water, it reduces the chances of loose whites spreading out, resulting in a cleaner appearance. Keep in mind, you don’t need much—about a teaspoon per liter of water is enough. The acidity of vinegar accelerates the coagulation process, giving you better control and more consistent results. Using vinegar is a simple trick that considerably improves the quality of your poached eggs. Proper air purifier maintenance can help ensure a clean kitchen environment, especially when working with fresh eggs and other ingredients.
Creating a Gentle, Steady Simmer

To achieve perfect poached eggs, maintaining a gentle, steady simmer is essential. Keep the simmer temperature low enough to prevent rapid boiling, ideally between 180°F and 190°F. This helps control water agitation, preventing the eggs from breaking apart. To create the ideal simmer:
- Use a thermometer to monitor water temperature precisely.
- Adjust the heat to keep small bubbles rising gently to the surface.
- Avoid vigorous boiling, which causes turbulent water movement.
- Use a lid slightly ajar to help regulate temperature without excessive water movement.
Automation technologies enable scalability and flexibility in various industries, further supporting precise control over cooking processes.
Using a Whisk to Create a Vortex
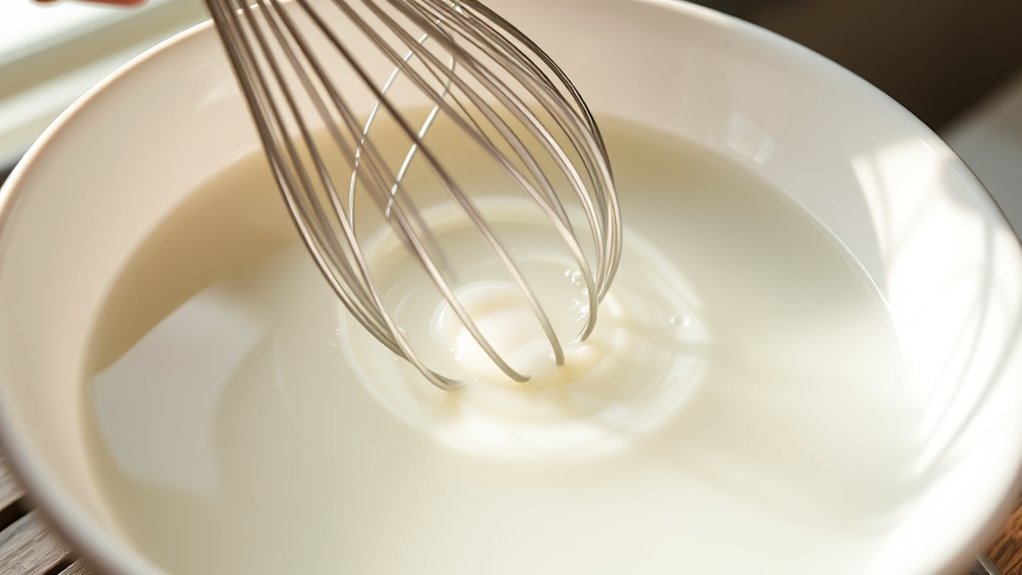
To create a perfect vortex, you need to master your whisk technique so you can form a strong, steady spiral. Timing and consistency are key to maintaining the vortex long enough for the egg whites to wrap around the yolk smoothly. Once you get the hang of it, you’ll notice how much easier it is to produce beautifully poached eggs every time.
Proper Whisk Technique
Creating a gentle vortex in the water is essential for a perfectly poached egg, and using a whisk helps attain this. To master proper whisk technique, focus on these steps:
- Keep the bowl at a slight angle to make the whisk motion smooth and controlled.
- Use quick, circular movements to create consistent vortex circulation.
- Maintain steady pressure to avoid splashing or uneven whirlpools.
- Keep your wrist relaxed to ensure fluid, even strokes, which help draw the egg whites inward.
Achieving a Tight Vortex
Focusing on your whisk technique helps produce a tighter, more controlled vortex in the water. To achieve ideal vortex formation, start whisking in the center of the pot with steady, circular motions. This creates water swirling around the point of agitation, encouraging the egg whites to gather tightly. Keep your movements consistent and firm—abrupt or uneven whisking will disrupt the vortex, making it less effective. As the water swirls, it pulls the egg whites into a compact shape, resulting in a neater poached egg. Remember, the key is maintaining a gentle, continuous whirlpool. A well-formed vortex helps control the egg’s shape, preventing spreading and ensuring a perfect, professional-looking poached egg every time. Using a suitable whisk with the right shape and size can further improve your vortex control, leading to better results.
Timing and Consistency
Maintaining proper timing and consistent whisking are vital for forming and sustaining a strong vortex. Fresh eggs tend to hold together better, making timing imperative. Start with water at the right temperature—around 180°F to 190°F—to keep the egg whites from dispersing. As you whisk, create a vortex by stirring in a steady, circular motion. This helps the egg whites wrap around the yolk, resulting in a neat poached egg. To optimize your process:
- Use fresh eggs for better cohesion.
- Maintain water temperature consistently.
- Whisk steadily to form a strong vortex.
- Add the egg gently into the center for best results.
Following these steps ensures your poached eggs are perfectly formed, with a tender white and runny yolk.
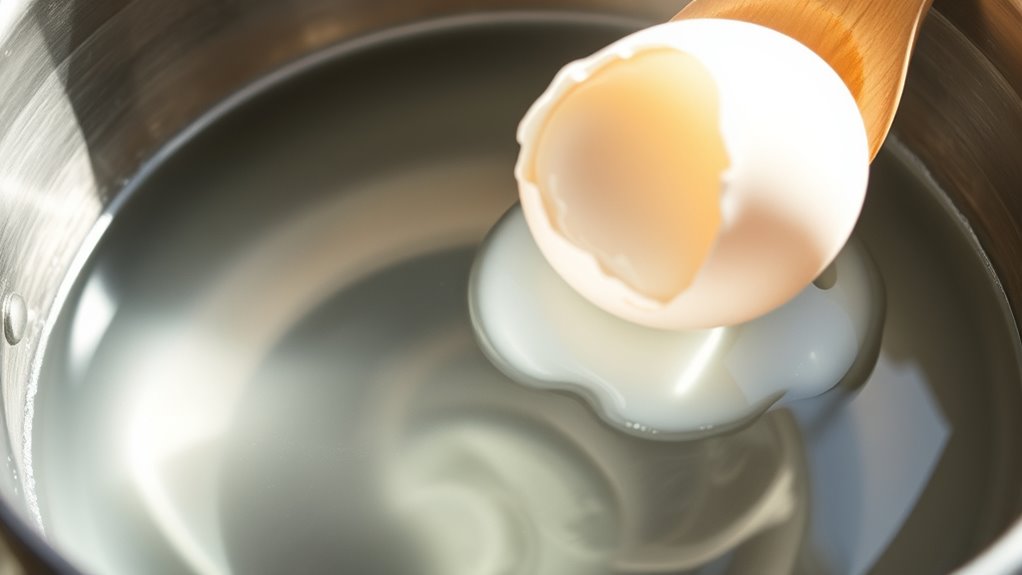
How to Gently Slide Eggs Into Water
To prevent the eggs from breaking apart or sticking to the bottom, it’s essential to slide them gently into the water. Keep the water at a gentle simmer, ensuring a consistent temperature that maintains eggshell integrity. Use a spoon or small cup to carefully lower each egg, minimizing impact. The key is a slow, controlled motion to avoid cracking. Additionally, understanding wound healing can inspire patience and care during the cooking process to achieve perfect results. The process requires attention and gentle handling to ensure each egg retains its shape and texture.
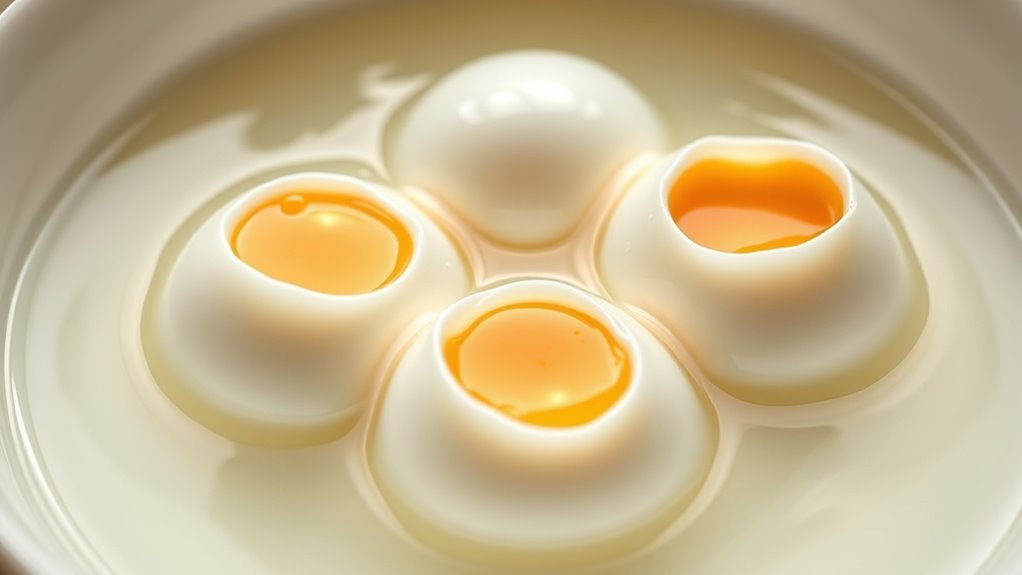
Timing for Perfect Doneness

Getting the timing right is essential for achieving perfectly cooked poached eggs. The key factors are egg freshness and water temperature. Fresher eggs hold their shape better, making timing more forgiving. Usually, a gentle simmer at 180°F to 190°F (82°C to 88°C) works best.
A good understanding of voiceover skills can also help you better gauge timing and delivery for more engaging results.
Here’s what to keep in mind:
- For a runny yolk, cook for about 3 minutes.
- For a slightly firmer yolk, aim for 4 minutes.
- For a soft, custard-like center, go for 2.5 minutes.
- Always adjust based on egg freshness and water temperature for consistent results.
Monitoring your timing and maintaining ideal water temperature ensures your eggs are cooked to your preferred doneness every time.
Removing Eggs Without Breaking the Whites
To remove poached eggs without breaking the whites, you need to handle them gently with a slotted spoon, supporting the delicate shape. Make sure to drain excess water carefully so the eggs stay intact. Practicing these proper techniques helps you keep your eggs perfect for serving. Using a non-stick surface can also help prevent sticking and breaking during removal.
Gentle Egg Handling
Handling poached eggs gently is essential to keep the whites intact when removing them from the water. To protect eggshell integrity and prevent breaking, focus on temperature control—avoid sudden temperature shifts that can weaken the whites. Use a slotted spoon with a smooth surface to lift the eggs carefully. Support the egg’s shape as you lift it, minimizing movement that could cause tearing. Also, ensure your eggs are fresh; fresher eggs hold together better. Here are some tips:
- Use a gentle, steady motion when lifting.
- Support the egg with the spoon from underneath.
- Keep the water at a gentle simmer, not a boil.
- Handle eggs quickly but carefully to maintain shape.
Proper Draining Techniques
Because delicate poached eggs can easily fall apart if not drained carefully, it is crucial to use the right technique to remove them without breaking the whites. Gently lift the eggs with a slotted spoon, allowing excess water to drain off over your draining surface. Once lifted, carefully transfer the eggs onto a paper towel to absorb any remaining moisture. This step prevents water from pooling around the eggs, which can cause the whites to break when moved. Be gentle to avoid tearing the fragile whites, and avoid squeezing the eggs too tightly. Using a paper towel ensures a clean, dry surface, making it easier to handle the eggs without compromising their shape. Proper draining helps maintain the perfect appearance and texture of your poached eggs.
Serving and Garnishing Your Poached Eggs

Once your poached eggs are perfectly cooked, serving them attractively can elevate your dish and enhance the dining experience. Focus on egg presentation by choosing a clean, appealing plate. Use garnish options like fresh herbs, cracked black pepper, or a drizzle of hollandaise to add color and flavor. To make your eggs stand out, consider these tips:
- Place the poached egg gently on toasted bread or an elegant bed of greens.
- Top with chopped chives, parsley, or dill for a fresh look.
- Drizzle with a flavorful sauce, such as hollandaise or hot sauce.
- Finish with a sprinkle of sea salt or paprika for visual appeal.
- Incorporating best anime movies into your breakfast table setup can create a fun and inspiring atmosphere.
These simple steps will ensure your poached eggs look inviting and taste delicious.
Troubleshooting Common Poaching Problems

Even with careful technique, you might encounter common issues when poaching eggs. One problem is eggs spreading out in the water; this often happens if the egg isn’t fresh enough. Fresh eggs have firmer whites that hold together better during poaching. Using good poaching equipment, like a slotted spoon or a mesh strainer, helps contain the egg and prevents spreading. If your eggs turn out rubbery or overcooked, reduce the cooking time or adjust the water temperature. For eggs that stick to the bottom of your pan, ensure your water is at a gentle simmer and use enough vinegar to help the whites coagulate quickly. Additionally, security system effectiveness highlights the importance of using the right tools and techniques to ensure success. Troubleshooting these issues improves your results and makes poached eggs easier to master.
Frequently Asked Questions
Can You Reuse Leftover Poaching Water Safely?
You might wonder if you can reuse leftover poaching water safely. While reusing it for egg preservation or water conservation seems practical, it’s not recommended. The water contains residual egg proteins and bacteria, which can spoil or cause food safety issues. For best results, discard the used water and start fresh next time. This approach guarantees hygiene and maintains the quality of your poached eggs.
What Are Alternative Liquids to Water for Poaching Eggs?
You can try flavored liquids like broth, wine, or even tea to add extra flavor when poaching eggs. Dairy substitutes such as almond milk or coconut milk work well too, providing a richer taste and different texture. Just make certain the liquid isn’t too acidic or salty, and keep the temperature steady. These alternatives bring a creative twist, making your poached eggs more interesting and delicious.
How Do Altitude Differences Affect Poaching Times?
They say, “Every mountain has its peak.” When you’re at higher altitudes, you need altitude adjustments for poaching eggs because water boils at lower temperatures. This means your cooking time will increase, and eggs may need a bit more patience to reach perfection. Keep an eye on the water’s temperature, and adjust your timing accordingly to guarantee your eggs are just right, no matter the elevation.
Can You Make Poached Eggs Ahead of Time?
You can prepare poached eggs ahead of time by storing them properly. To do this, prepare and poach the eggs, then transfer them to a bowl of ice water to stop the cooking process. Store them in an airtight container in the fridge for up to two days. When you’re ready to serve, reheat by gently warming in hot water or microwave, then enjoy fresh-tasting eggs with minimal effort.
What Are the Best Tools for Shaping Perfect Poached Eggs?
Imagine a delicate, cloud-like egg gently forming—your kitchen tools make this magic possible. For perfect egg poaching, use a slotted spoon to lift and shape, a silicone egg poacher for consistent rounds, and a shallow saucepan for gentle heat. A whisk or vinegar in the water helps the egg whites stay together. These kitchen tools guide your hand, ensuring every poached egg is a beautiful, edible masterpiece.
Conclusion
Mastering poached eggs takes practice, but with these tips, you’re well on your way. Remember, using fresh eggs and vinegar makes a big difference, and a gentle simmer prevents breaking. Did you know that 90% of home cooks find perfectly poached eggs easier when following proper techniques? Keep experimenting, stay patient, and soon you’ll be serving restaurant-quality eggs every time. Happy poaching!