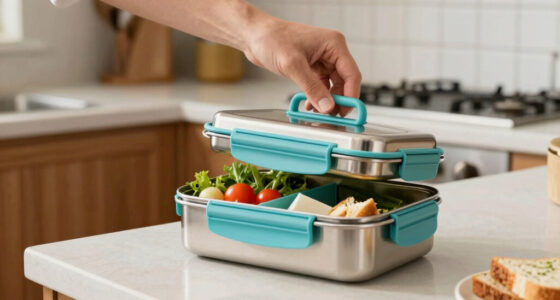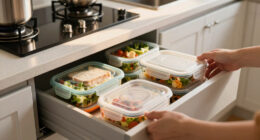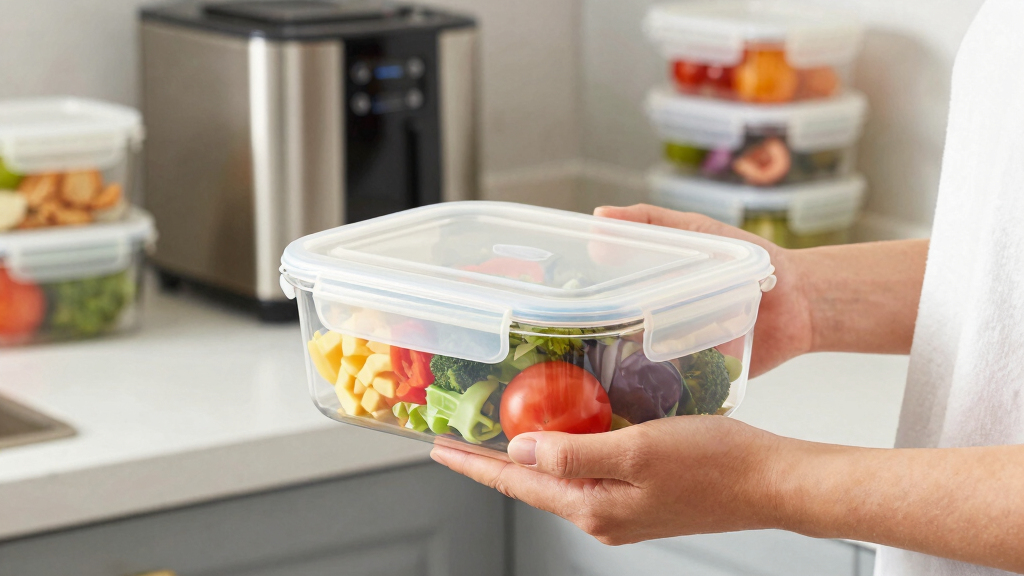
This guide will help you choose the right lunchbox food storage containers, organize them for daily use, and maintain their condition. Suitable for beginners, it covers all steps to ensure your food stays fresh and secure, making meal prep easier and more efficient.

Buluker 4 Pack Bento Lunch Box Set, 3-Compartment Food Storage Containers, Microwave and Dishwasher Safe
- ✔ Number of Containers: 4
- ✔ Compartments per Container: 3
- ✔ Material: Polypropylene and wheat fiber
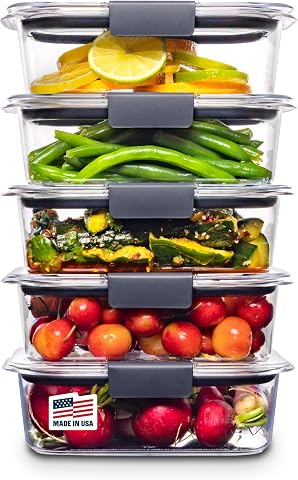
Rubbermaid Brilliance Tritan Plastic Food Storage Containers Set of 5 (3.2 Cup)
- ✔ Capacity: 3.2 cups
- ✔ Number of Containers: 5
- ✔ Material: Tritan plastic

Bentgo Prep 20-Piece 1-Compartment Reusable Meal Prep Containers with Lids, PFAS & BPA Free, Microwave, Freezer, Dishwasher Safe,…
- ✔ Number of Containers: 20
- ✔ Compartments per Container: 1
- ✔ Material: PFAS & BPA Free
Difficulty: Beginner | Time: 30-45 minutes
What You’ll Need
Tools & Materials:
- Measuring cup or scale (optional)
- Cleaning supplies (soap, sponge, drying rack)
Knowledge:
- Basic understanding of food storage and cleanliness practices
Set aside enough space for cleaning and storing containers. Decide on the types of foods you’ll store to select appropriate sizes and shapes.
Buluker 4 Pack Bento Lunch Box Set, 3-Compartment Food Storage Containers, Microwave and Dishwasher Safe
The Buluker Bento Lunch Box Set stands out for its eco-friendly blend of polypropylene and wheat fiber, making it a sustainable choice for daily use. Its three compartments promote portion control and variety, ideal for balanced meals. Compared to the Bentgo, it offers more eco-conscious materials but is limited to lighter colors and requires lids to be removed before heating, which can be a hassle. While it’s safe in the microwave, freezer, and dishwasher, its light color options might not appeal to everyone seeking more vibrant or diverse styles.
Pros:
- Eco-friendly, wheat fiber and polypropylene construction
- Three compartments for meal variety and portion control
- Stackable design saves space
- Microwave, dishwasher, and freezer safe
Cons:
- Lids must be removed before heating
- Limited color options (light shades)
Best for: Eco-conscious individuals and those who want compartmentalized, balanced meal options
Not ideal for: Users needing vibrant colors or large-volume containers, or expecting to heat meals with lids on
Bottom line: A highly eco-friendly, versatile choice for balanced meals, but with some heating inconvenience.
“A highly eco-friendly, versatile choice for balanced meals, but with some heating inconvenience.”
Rubbermaid Brilliance Tritan Plastic Food Storage Containers Set of 5 (3.2 Cup)
The Rubbermaid Brilliance set excels in leak-proof design with airtight, secure latches and crystal-clear Tritan plastic, making it easy to see contents at a glance. Compared to the Bentgo, it offers greater durability and stain resistance but is limited to 3.2 cups, which might not suit larger meal portions. Its stackability and odor resistance make it an excellent choice for everyday use, though it may be less flexible if you need larger containers or more variety in size.
Pros:
- Leak-proof with secure latches
- Crystal-clear, stain- and odor-resistant material
- Microwave, dishwasher, and freezer safe
- Stackable for space efficiency
Cons:
- Limited to 3.2 cups capacity
- May not suit those with larger portion needs
Best for: Those prioritizing leak-proof, transparent storage for leftovers and meal prep
Not ideal for: People needing larger containers or extensive meal prep options in bigger sizes
Bottom line: A top pick for leak-proof, durable, and clear containers, best suited for smaller portions and everyday leftovers.
“A top pick for leak-proof, durable, and clear containers, best suited for smaller portions and everyday leftovers.”
Bentgo Prep 20-Piece 1-Compartment Reusable Meal Prep Containers with Lids, PFAS & BPA Free, Microwave, Freezer, Dishwasher Safe,…
The Bentgo Prep 20-Piece Set is designed for extensive meal planning, offering twenty 1-compartment trays that are durable, reusable, and easy to organize. Made from PFAS- and BPA-free materials, they emphasize safety and health. Compared with the other two options, this set provides a vast quantity of containers, making it ideal for batch cooking and portioning. However, the lids require hand-washing and are not microwave safe, limiting convenience slightly. The single-compartment design suits those who prefer straightforward portioning but may not be ideal for mixed meals.
Pros:
- Large quantity of containers for extensive meal prep
- Durable, reusable, and PFAS/BPA free
- Lids keep food fresh and organized
- Supports portion control and healthy eating
Cons:
- Lids need hand-washing; not microwave safe
- Only 1-compartment trays limit meal variety
Best for: Meal preppers, fitness enthusiasts, and large families needing many containers
Not ideal for: Individuals seeking multi-compartment options or those who prefer microwave-safe lids
Bottom line: Perfect for bulk meal prep and portion control, especially for large households or meal planners, with some lid cleaning limitations.
“Perfect for bulk meal prep and portion control, especially for large households or meal planners, with some lid cleaning limitations.”
As an Amazon Associate we earn from qualifying purchases.
Before You Start
Wash your hands thoroughly before handling containers. Clear a workspace for sorting and cleaning. Check for any damaged containers or lids before use.
Step-by-Step Instructions
Step 1: Assess your storage needs
Determine the types and quantities of foods you typically pack, including snacks, sandwiches, salads, or leftovers. Select sizes based on meal portions and containers for different food types.
Tip:Use a variety of container sizes to accommodate different foods and prevent overcrowding.
Check: You have a list of needed container sizes and types matching your meal prep habits.
Step 2: Choose appropriate containers
Select containers made from BPA-free plastic, glass, or stainless steel, with secure lids. Ensure they are dishwasher safe and microwave compatible if needed.
Tip:Prioritize containers with airtight seals to prevent leaks and keep food fresh.
Check: You have gathered containers that fit your needs and are suitable for your appliances.
Step 3: Wash and dry containers thoroughly
Wash each container and lid with warm, soapy water. Rinse well to remove soap residue. Dry completely with a clean towel or air dry before use.
Tip:Inspect for cracks or damage during washing; replace any compromised containers.
Check: All containers are clean, dry, and free of residue or damage.
Step 4: Organize containers for easy access
Arrange containers in a designated storage area, grouping similar sizes and types together. Keep lids nearby for quick pairing.
Tip:Use stackable containers to save space and prevent clutter.
Check: Containers are organized for quick selection and easy storage.
Step 5: Fill containers with prepared foods
Portion your meals into containers, leaving some space at the top for liquids or sauces if needed. Seal lids securely.
Tip:Label containers with dates if storing leftovers for multiple days.
Check: All foods are properly portioned, sealed, and ready for transport or refrigeration.
Step 6: Store containers properly
Place filled containers in the refrigerator or cooler, ensuring they are upright and stable.
Tip:Avoid overfilling to prevent leaks or spills during transport.
Check: Containers are stored securely, with lids properly sealed and food at safe temperatures.
Common Mistakes to Avoid
- Using containers that are not leak-proof — Choose containers with airtight seals and test for leaks before packing food.
- Overfilling containers causing spills — Leave some space at the top for liquids or expansion, especially with hot foods.
- Not drying containers properly, leading to mold or odors — Ensure all containers and lids are completely dry before stacking or storing.
- Using damaged containers — Regularly inspect for cracks or warping and replace compromised items.
Troubleshooting
Problem: Food smells or stains lingering after washing
Solution: Wash with baking soda or vinegar, or soak in a mixture of water and baking soda overnight. Consider replacing heavily stained containers.
Problem: Lids not sealing properly
Solution: Check for warping or damage. Replace lids or containers if seals are compromised.
Problem: Containers leaking during transport
Solution: Ensure lids are snapped on tightly, and test for leaks with water before filling with food.
Problem: Food spoiling quickly
Solution: Verify that your refrigerator is at the correct temperature (below 40°F / 4°C), and store perishable foods promptly.
What Success Looks Like
All containers are clean, dry, properly sealed, and organized. Packed foods are fresh, leak-proof, and stored at safe temperatures. You can easily access the right container for each meal.
Next Steps
Regularly clean containers after use, replace damaged ones, and update your organization system as needed. Reassess your needs periodically to adjust container sizes or types. Consider investing in insulated lunch bags for transport.
Frequently Asked Questions
Are plastic containers safe for food storage?
Use BPA-free plastic containers to avoid harmful chemicals. Check labels for safety certifications.
Can I microwave all types of containers?
Only microwave-safe containers should be used in the microwave. Check the manufacturer’s label to avoid damage or health risks.
How do I prevent odors from lingering in containers?
Wash containers thoroughly with soap and baking soda or vinegar. Leave lids off during drying and store in a well-ventilated area.
How often should I replace damaged containers?
Replace containers showing cracks, warping, or compromised seals immediately to maintain food safety and prevent leaks.